Creating the Load Balancer
Create the load balancer
Login to Azure and go directly to the load balancer page here: Load Balancers

Click on Add
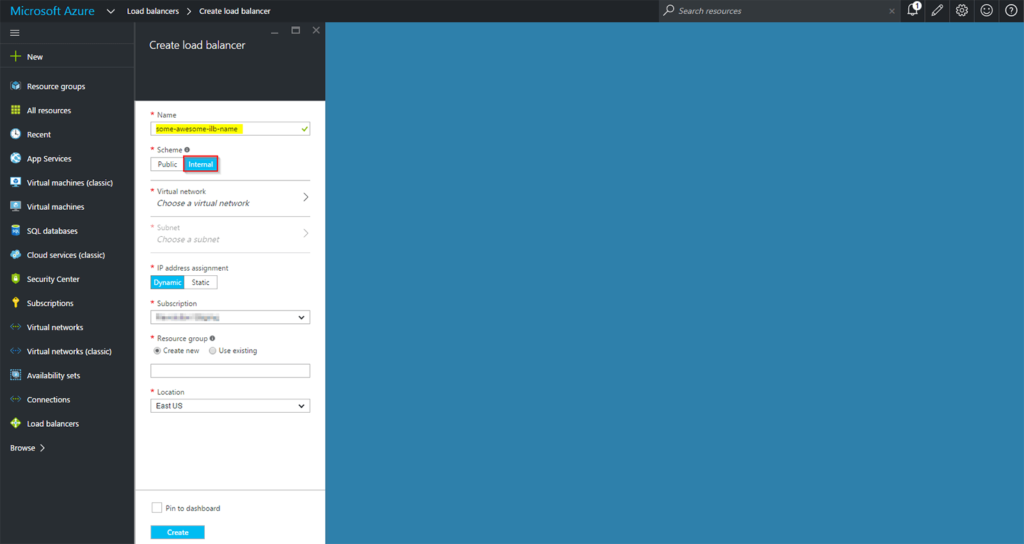
Enter a cool and or descriptive name for the load balancer. Click on Internal for the scheme.
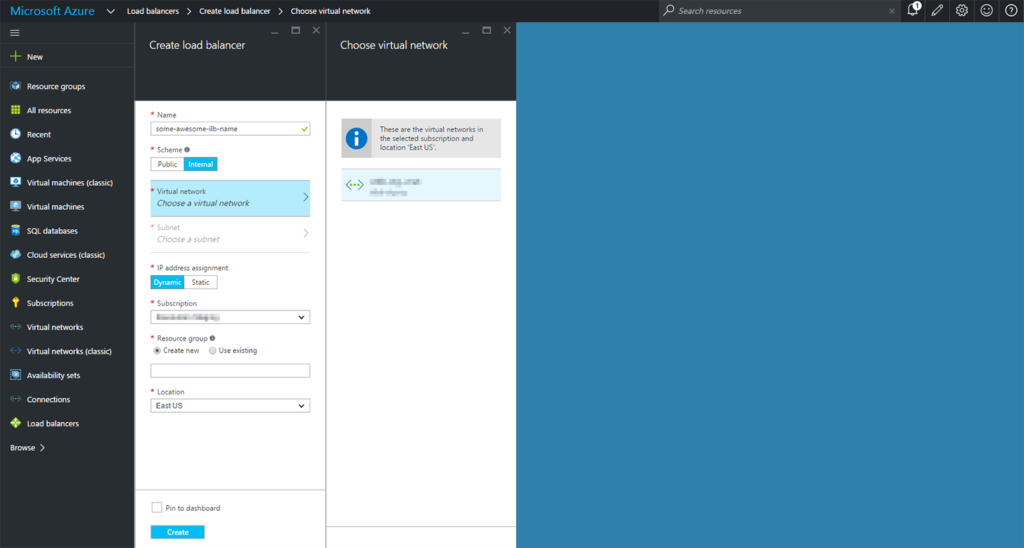
Click on Choose a virtual network and select the vnet

Click on Choose a subnet and select the appropriate subnet.
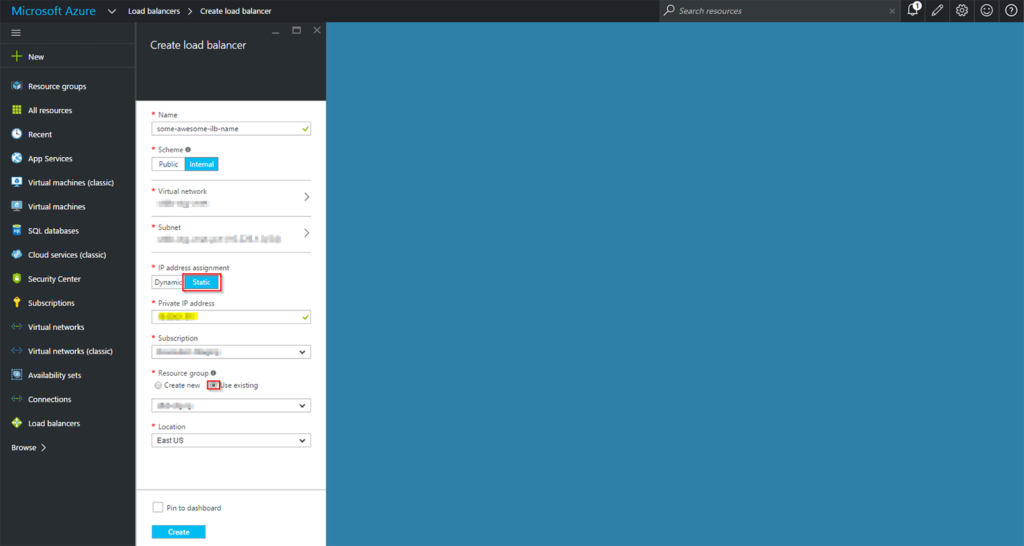
For IP address assignment, select Static. Enter a static IP that corresponds to the subnet. Click Create
Configuring the load balancer:

Click on the newly created loadbalancer.
In order, we will need to create the following:
- Backend Address Pool
- Probe
Load balancing rule.
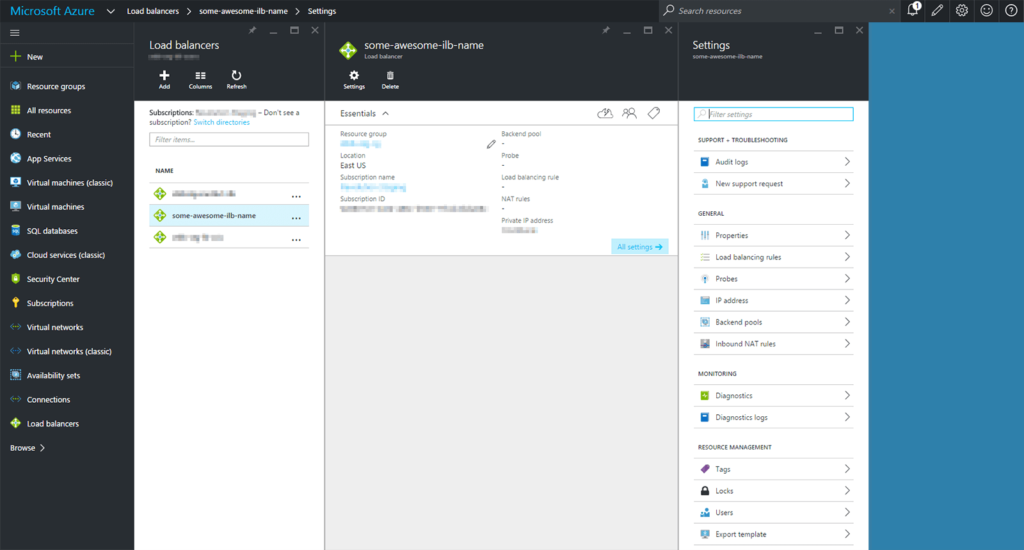
Click on Backend Pools
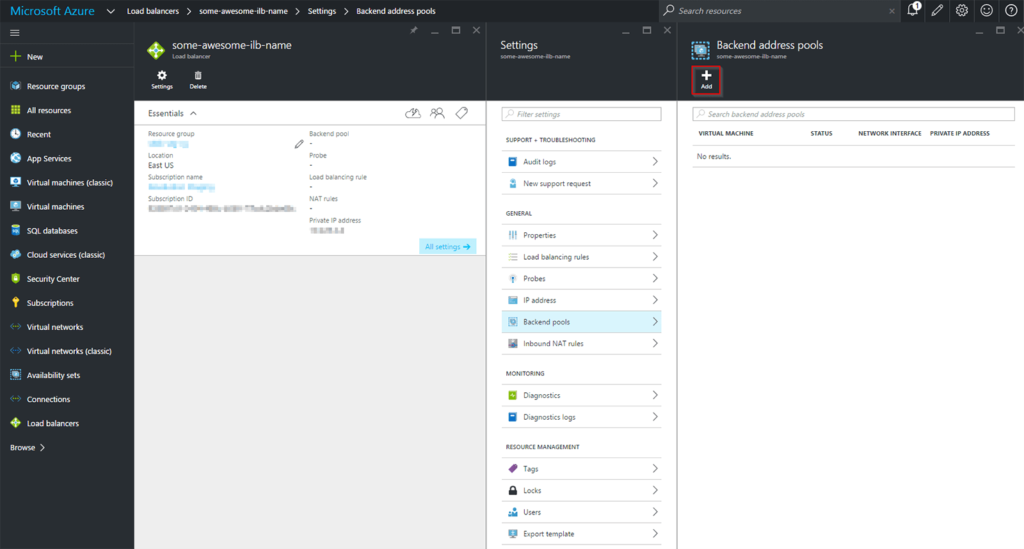
Click on Add

Important to note: Azure scrolls sideways and not up / down.
Enter a cool and or descriptive name for the Backend pool. Select Availability Set > Choose the relevant availability set.

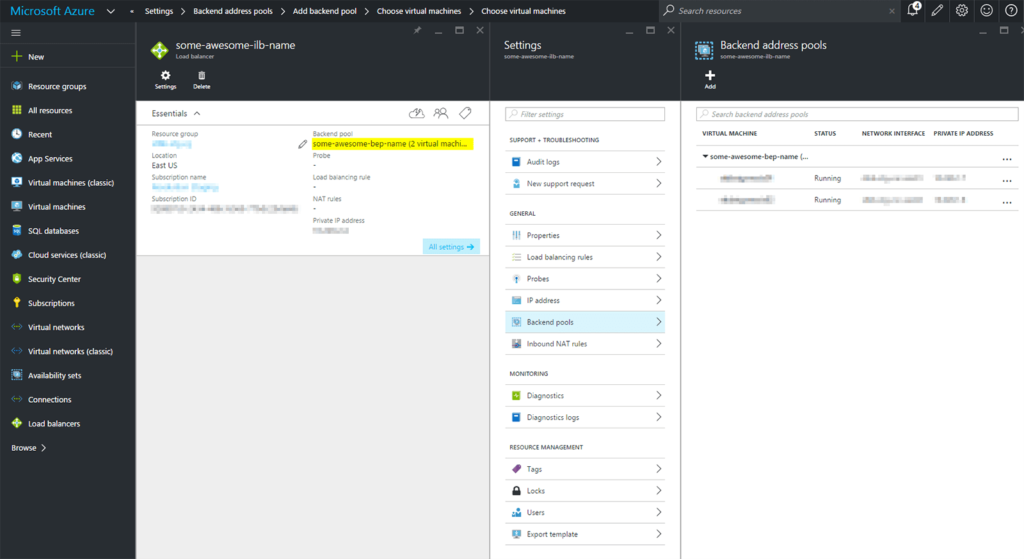
Click on Virtual Machines > Select 2 or more virtual machines. Click Select

Click OK

You can see the new change highlighted on the left.
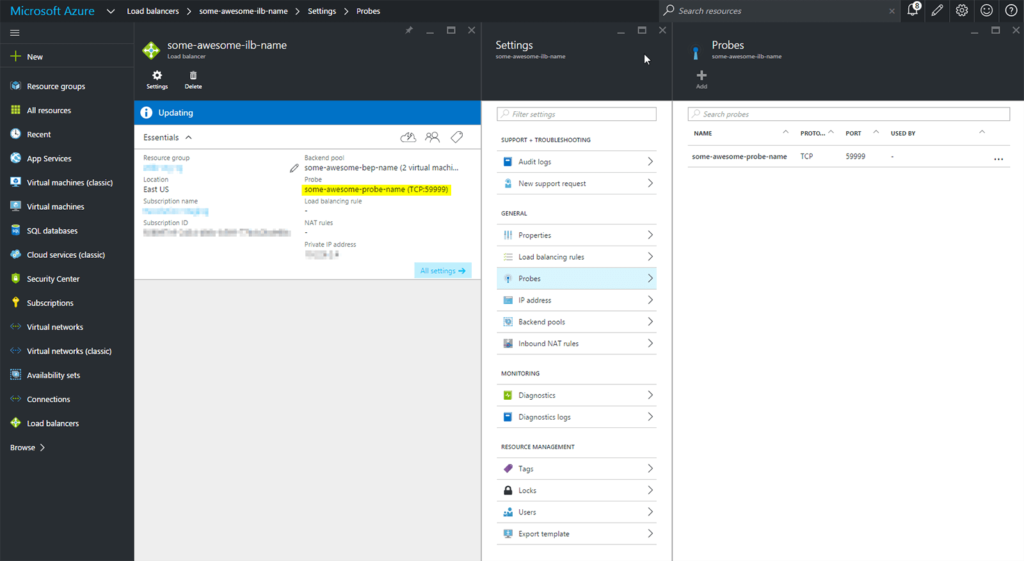
Click on Probes. Enter a cool and or descriptive name for the Probe. Select TCP (or leave on HTTP). Enter a port (I chose 59999 as this is listed on most Microsoft posts – so I can only assume its a listening port configured on VMs by default in Azure)

You can see the new change highlighted on the left.
Select Load balancing rules > Add > Enter a cool and or descriptive name for the Load balancing rule. Enter the port, and because this is for the listener, we need a floating IP – select this option. Once this option is selected and saved, it CANNOT be changed. The rule will need to be deleted and recreated. Click OK
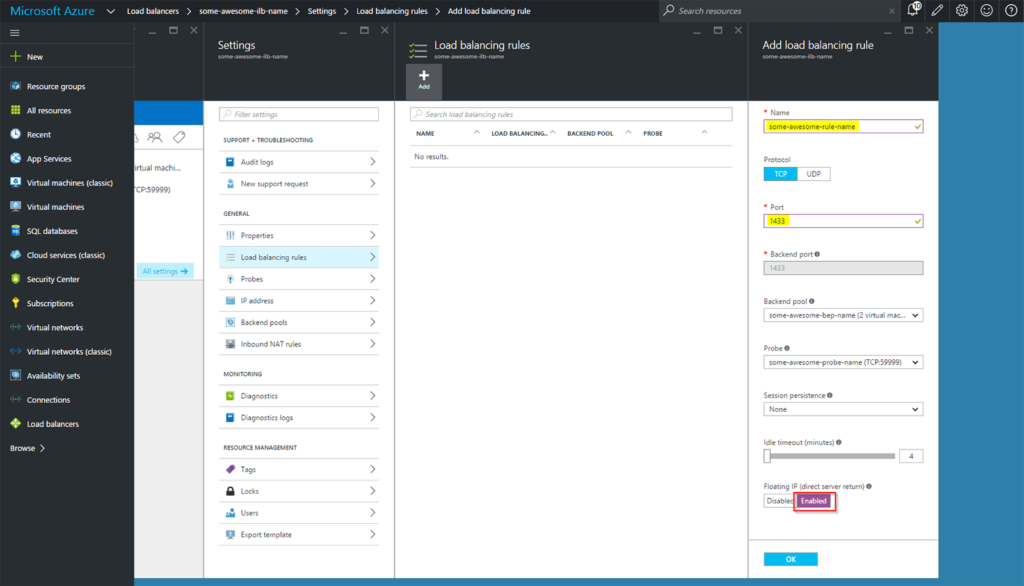
You can see the new change highlighted on the left.
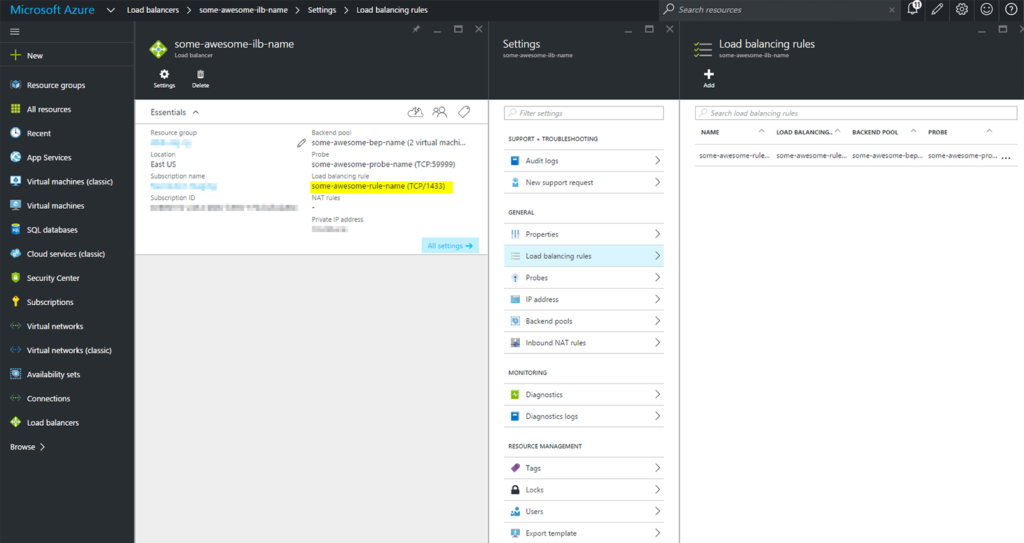
Now the load balancer has been created, we’re ready to go to the next step.
